 .
.Because of the small page size and the large number of photos I wanted to use, I first reduced almost every photo to wallet size. This is easy to do if you have photo editing software. First, create a blank picture file (canvas) that is 4x6. Then open each of 4 photos and adjust the file size down to 2x3, copy the photo, and paste it into the new file as a new layer. Move them around so they all display in the new file. If this is too much work for you, Walgreens online photo service will make wallets from your 4x6 photos for $1 each. I'm sure other online photo services have similar services to make wallets.
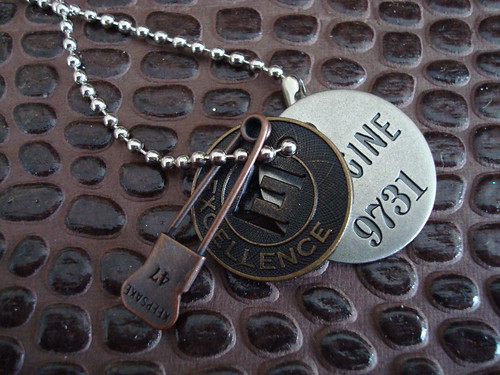
Most of the recipients are guys, so I didn't want to use my personal style of page adornment that is normally heavy on flowers and frills. Instead, I went with a plain style that is more industrial. Tim Holtz various trinkets are great for this. I used plumber's chain to attach a subway token, a swimming pool basket tag, and a word doodad to the cover of each one. I selected words that related most to each person.
I also refrained from adding ribbons, yarns, and other frilly trims from the pages.
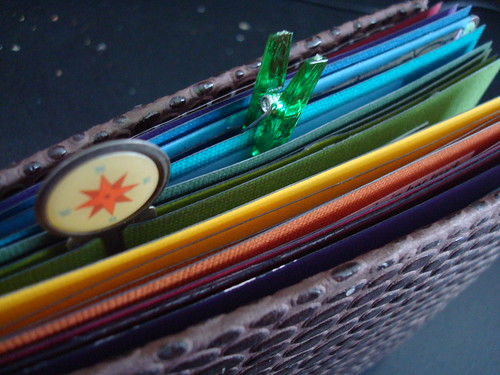
Each page is different color, which means that each two-page spread includes two different colored pages. The varigated colors make a fairly smooth transition on each spread. However, if I was going to redesign this book, I'd add in a common element like a constrasting paper or emphemera that would unify the spread with differrent background colors.
I put 1 to 4 of the wallet size photos on each page. On pages with 1-3 photos, I added other content including stamps, library pockets, coin envelopes, and velum pull pockets (the size of credit card holders). I also used rubber stamps to add words to nearly every spread. Having a nice selection of travel-related stamps really came in handy. I also used some 4x6 photos as the main image on a page. I frequently overlapped this image with a wallet image that provided detail for the story on that page.
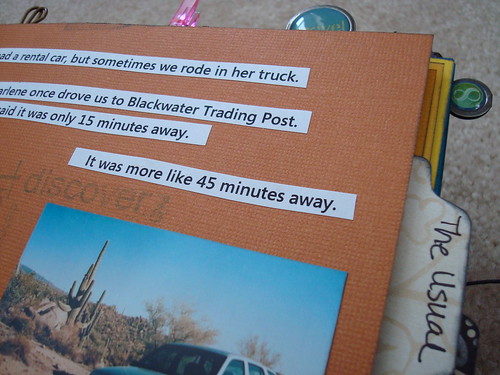
To tell the main story, I wrote up my commentary on the photographs in Microsoft Word using a nice display font. I kept the lines shorter than 5 inches so they would fit nicely on the 7 inch wide papers. I typed them single spaced and then cut them out freehand (using scissors) into word strips that I glued onto each page. I staggered the layout for emphasis, sometimes running words at a slant. The words are sometimes on the background, sometimes on the photos, and sometimes overlap the various components. I had planned to distress/chalk the edges, but because of the small size of the stips, it seemed to compete with the words on my trial page, so I abandoned this strategy.
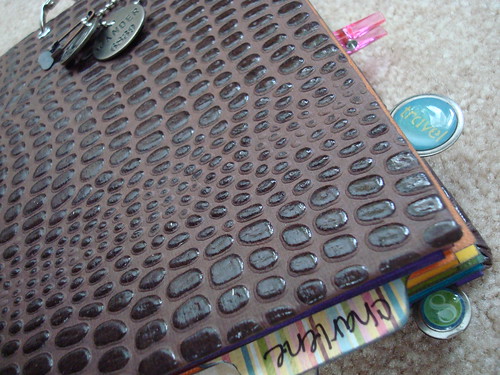
I created the covers using book board (heavy chipboard) cut so it would slightly overlap the pages. I applied the crocodile paper to the outsides, and used a different inside paper selected for each person. I assembled the book by punching two holes in each page and cover, and used book rings. I only have 1 inch rings, but plan to upgrade them to 1.5 inches to allow the books to lay flat.
Next to each photo, I hand wrote a caption that identifies the location. My handwriting isn't expecially nice or regular, but I like the hand writing touch on the pages. I also like the slightly irregular cutting on the word strips, and a few other elements that really help to give the books an assembled feeling. I wanted it to seem more like a book that had been made over time than a project I cranked out over a few days. I like the journal aspect of this.
The books contain several coin envelopes and a library pocket where they can add their own trinket items. In a velum pocket, I've included 8 business cards from places we visited. The last page is a policy envelope with a string closure. It's not quite big enough for a 4x6 photo, but it can hold many smaller items. I didn't include journaling places because I suspect that my family members will not write in these books.
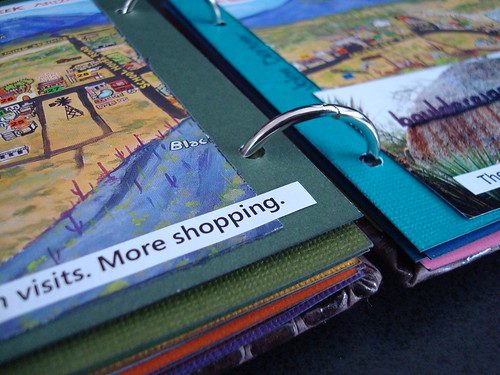
I used travel brochures on many pages. I picked up multiple copies so I could use the same brochure section in each duplicate book. These were perfect for filling in the content of the book because they were for places we visited. You can use any kind of ephemera for a similar project.

1 comment:
That is such a beautiful and meaningful gift!! Merry Christmas!!
Post a Comment